Mama Bear's Bounty-Seeds and Sprouts
Coriander (Cilantro) 30 G
Coriander (Cilantro) 30 G
Couldn't load pickup availability
Eating coriander (cilantro) seeds not only offer a unique and intriguing flavor profile, but their consumption has also been shown to improve blood flow and heart health, as well as calm serious digestive problems like irritable bowel syndrome.
That’s because coriander contains a multitude of bioactive compounds that lead to a wide array of pharmacological activities. These include its ability to act as an antimicrobial, anti-epileptic, antidepressant, antimutagenic, anti-inflammatory and anxiety inhibitor.
What does coriander taste like? While leafy cilantro adds a bright, somewhat citrusy flavor to dishes, coriander seeds are warm, sweet and nutty.
Coriander Benefits:
*lowers blood sugar
*eases digestive discomfort
*decreases blood pressure
*fights food poisoning
*improves cholesterol levels
*helps fight and relieve urinary tract infections
*may help prevent neurological inflammation and diseases such as Parkinsons and Altzheimers, multiple sclerosis, brain tumors and meningitis which are related to inflammation in the brain.
Sprouting Coriander Seeds:
Not recommended for mason jar sprouting and not as easy as some other seed types. But all the same benefits from sprouts are available from eating the seeds themselves.
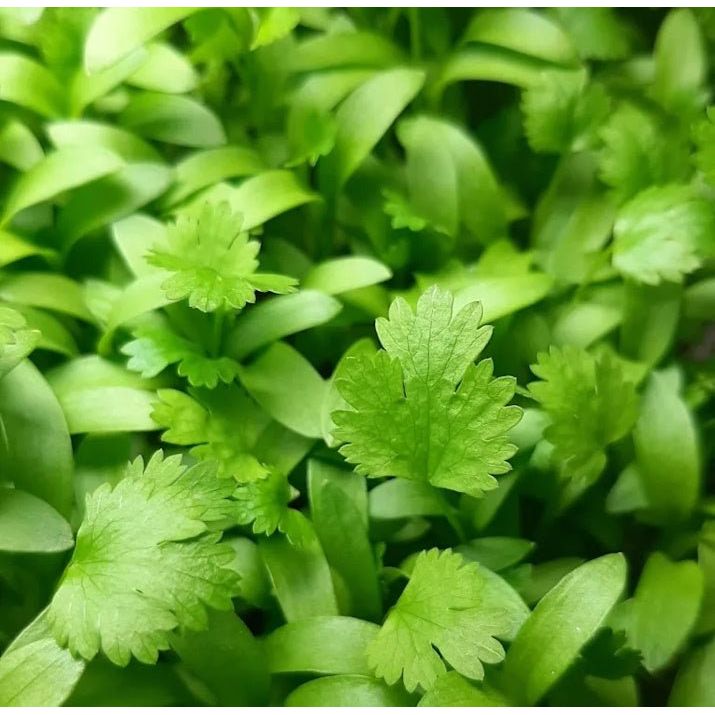
Grow Cilantro Microgreens! Soil Method *Note* Best not grown in hot conditions
Yield: 30-40 grams a little over 1 oz per 10” X 20” tray
Storage: To prolong viability, it is best to store them in the fridge. If you store your seeds in the freezer, they’ll last indefinitely!
You will need:
10” x 20” gardening trays (1-inch-tall preferred), 1 with holes + 1 without. Smaller microgreen trays also work well.
Good quality organic starting soil mix
Parchment paper or unbleached paper towel (optional)
Dome lids (clear or black) or plastic sheet
Organic seed
Mister bottle, cup measures, garden spray nozzle (optional)
Scissors or sharp knife
Soak the Seed
Soak approximately 1/3 c of seed for 4 hours.
Prepare Soil
Add water to top of the bag (or each tray) 12 hours ahead of use until almost fully hydrated. Rehydrate the bag as necessary. If you were to put the soil in your hand and squeeze it, you should not be able to get much more than a drop of water out of it for the perfect moisture content. If you want to mist the seed after putting it on the soil, reduce the water hydration of the bagged soil a bit.
TIP: To check for overwatering, tip the tray to one end. Water should not pool enough to drip out of the tray.
Fill Trays with Soil
Use a tray with holes. Fill with 3/4-1.5” of soil. The closer to the top of the tray the better aid to air circulation. Use a block or your hand to smooth and flatten the soil without compacting it. The back of a tablespoon or spatula smooths out the valleys. You can wait to put the tray without holes under until after unstacking/uncovering or add it to the bottom now.
TIP: Place a layer or two of paper towel on the bottom of the tray before adding soil for easier cleanup.
Sow the Seed
Spread the soaked seed evenly over the soil in the tray. The seeding density depends on the stage at which you’re planning to harvest. You should have one layer of seeds, side by side and mostly not overlapping. Spread out any clumps with a spoon or your hands. Sow slightly less seed for 2-3 week microgreens.
Cover the Seed
Doing away with soil as a seed cover decreases the work and time it takes to grow the greens. If stacking the trays on top of each other, use a cover directly on the seed like parchment paper, a plastic sheet or wet unbleached paper towel layer. When not stacking trays, the seed will need protection from drying out by using a dome/lid. Use a clear dome or an inverted 10 x 20” tray without holes. For smaller trays, use several layers of unbleached paper towels folded onto itself with or without a plastic sheet covering the top.
TIP: Most microgreens will grow taller when you keep the light out at the beginning, but this may make the stem weaker. Most seeds germinate in the light no problem.
Stack Trays
Stacking helps to quickly force the roots into the soil, provides darkness, promotes even germination/growth. Stack 2-5 filled trays on top of each other with an empty tray on the top of the stack with a weight in it. Check at least once a day to see if the trays need water. Stack beet, cilantro, and chard for 4 days.
Expose to Indirect Sunlight, Florescent/LED or Grow Lights.
After 2-5 days, the microgreens should be ready for light. If the microgreens begin to get quite tall and leggy, this is an indication that they may need a bit more light.
Water the Growing Microgreens
Check the seed once or twice daily and water as needed. The soil should be moist, not wet. Once trays are unstacked, add water from below into the no holes tray as necessary.
Harvest!
Cilantro microgreens are harvested at 12-21 days with scissors or a sharp knife. Make sure microgreens are not damp before storing. If needed, you may use a small fan or salad spinner to dry the microgreens before storing in a sealed container in the fridge.
Instead of harvesting all at once, you can start to harvest microgreens as soon as the first two leaves are spread out. Take only what you need for your meal and allow the rest to keep growing or put the tray in the fridge loosely covered and a plastic bag or dome to harvest another day. Water as necessary.
Enjoy!
Helpful tips:
To moisten your bag of soil, add warm water ahead until almost fully hydrated.
The roots grow under the soil so it works well to water from below if the tray has holes in it, or open the side of the tray and pour water beside the soil when using flexible plastic trays. Otherwise misting or watering from the top works well too.